Showing posts with label The vintage farmhouse chalk paint. Show all posts

Friday, December 26, 2014

Shabby Black Bedroom Suite

I've been pretty steady with the custom work this year, I wanted to share my most recent project.
My client had this beautiful pair of dressers with a Full size bed.  The tops of the dressers were in pretty bad shape so she had the tops & the front of the Headboard & foot board upholstered.   
This is what they looked like before I started.


I was really worried about what I would find once we removed the vinyl.


The headboard had approx. 3,942 staple holes in it.


The foot board had it's own set of issues only a Carpenter could address.


This is what the top of the short dresser looked like, yikes!  It took us an entire day to prep these pieces for paint. After scrubbing them with TSP, sanding, wood filling all the staple holes, more sanding & one last wipe down, we were ready to paint.

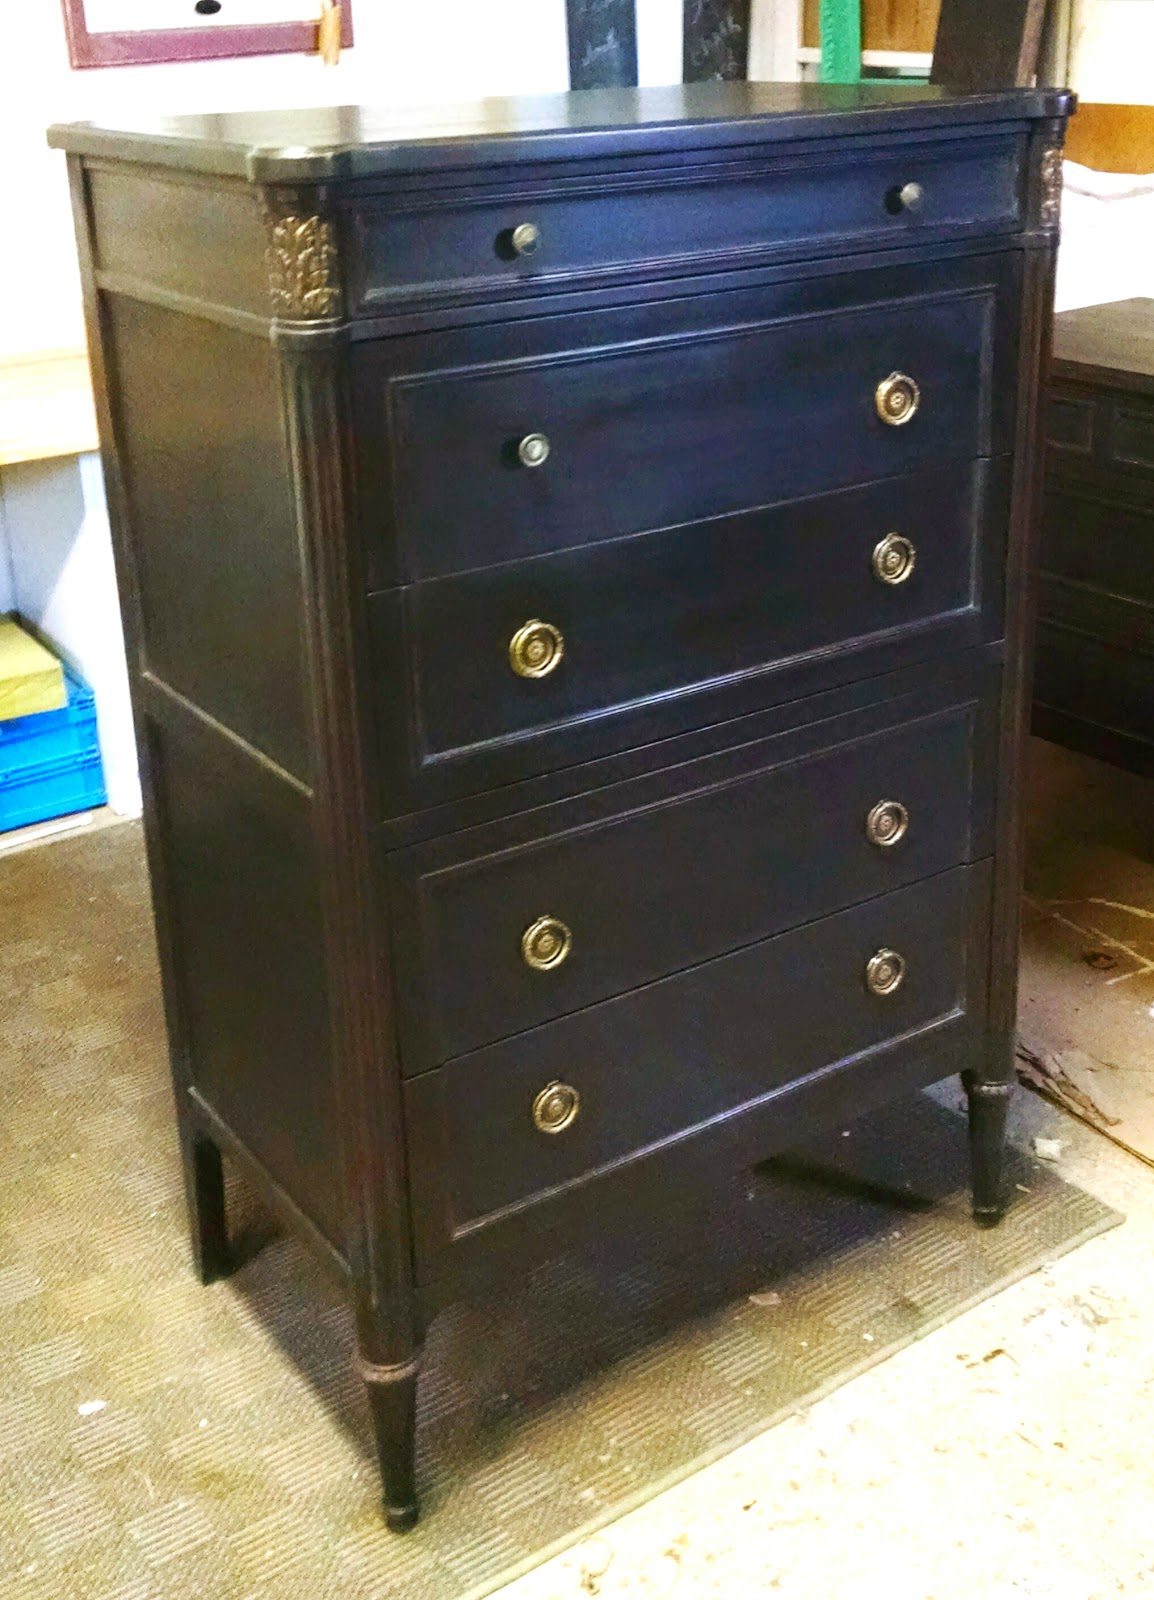
"Old Scale" was the color choice with the details dry brushed in gold.


Here they are just before I waxed them. They look so much better!

I shined up the hardware with a little fine steel wool.


The one on the left has been cleaned.

Here's the set in their new look.


This dresser is missing one of it's cool drawer pulls, but the client does have it somewhere.


This dresser had the most damage on the top.  I am proud to say you can hardly see there was ever an issue.


I love how the gold dry brushing turned out.
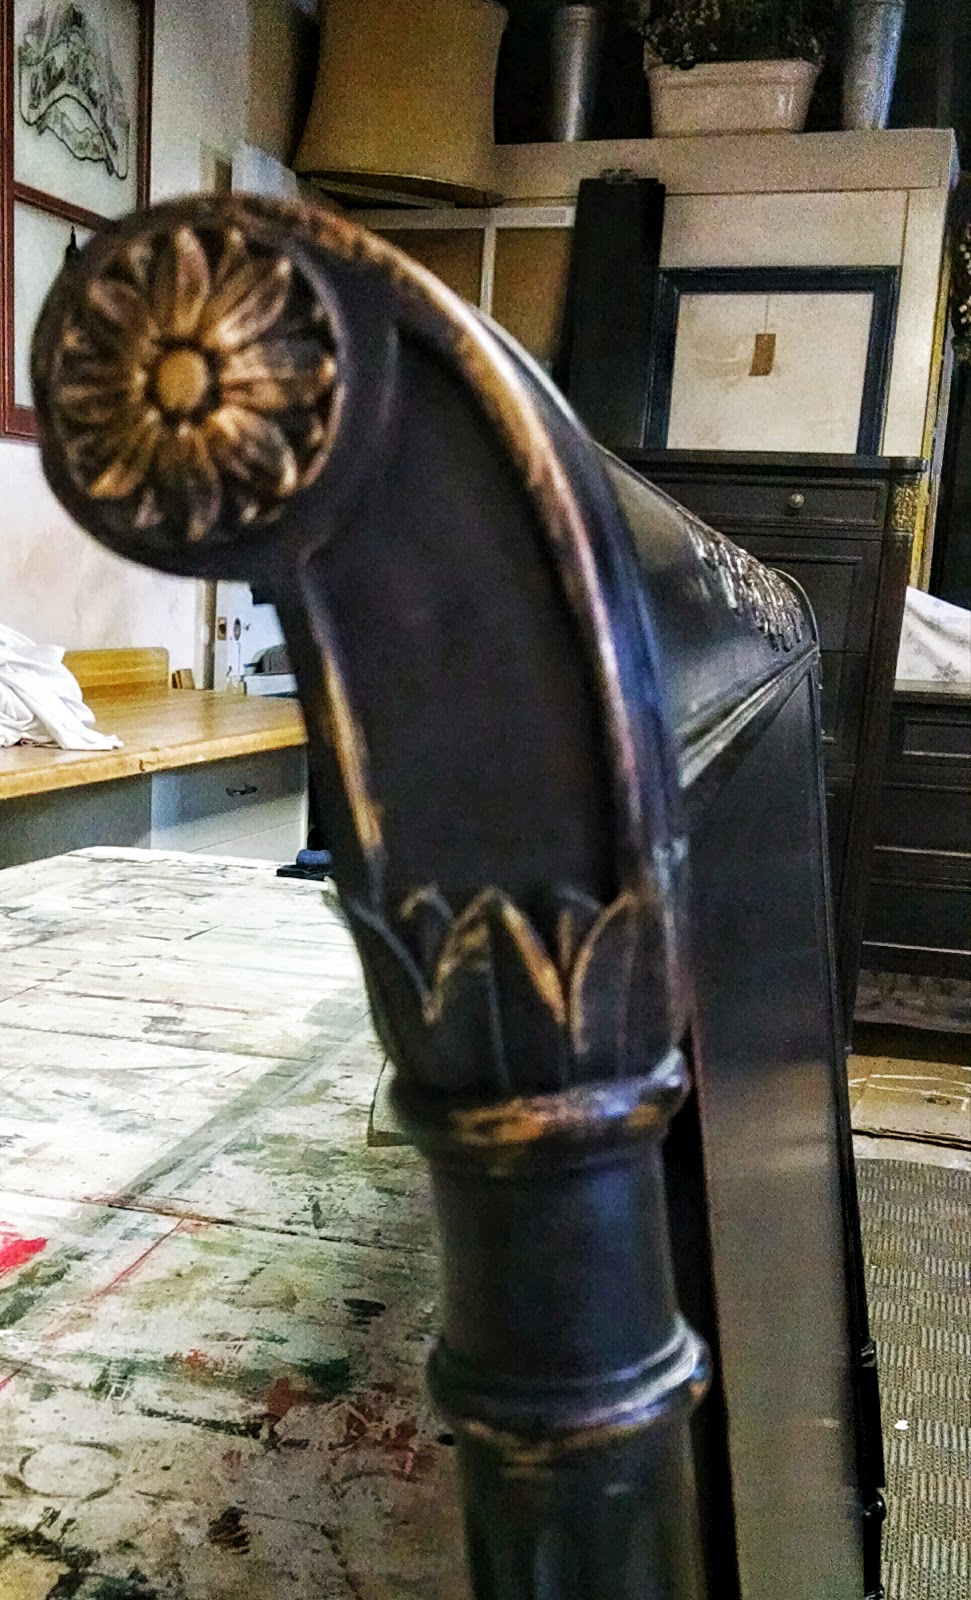


The headboard is amazing!  


And the foot board came out beautiful too.


What an amazing transformation.  I just love that feeling of accomplishment you get when you finally stand back & admire all your hard work.   It motivates me to move on the the next project.

Thanks for stopping by to see what we've been up to.  Be sure to check us out on Facebook.  

I hope you all had a very Merry Christmas & I wish you a Happy & Prosperous New Year!!  Dee

Saturday, February 15, 2014

Faux Copper Lamp

I seem to have a thing for lamps lately.  If you read my blog then you may remember the floor lamp I did recently, you can see it here.  I see some very cool lamps at the thrift shops all the time. I like the older lamps that have the nice lampshades with an actual frame you can work with.

Last weekend I went shopping at Collettes Vintage flea market & found the perfect style lamp.  I loved the shape of both the lamp & the shade. Plus the shade had the good frame.  The old cord was very worn so I asked my hubby to replace it.  It's inexpensive & very easy to do.  Better to be safe then sorry.

I had a paint technique I wanted to try. It's called "Copper Verdigris".  Here is a picture of the lamp before, well kind of before. I was so excited to get started that I didn't remember to take the dang picture until I had already started painting.


This is a glazed ceramic lamp & yes I am painting it.  Will it rub off once it's dry?   Hope not, guess I'll find out.  I gave it a quick sanding for good measure.   I'm using a paint I used back in my Faux Finish days.  It's called Modern Masters.  It's a fabulous paint, their metallics are exceptional.  
It's used on the castle roofs at Disney.


So this is the color I went with,  it has a nice dark copper look to it.  It's pretty opaque so it only took one coat.

Once that was good & dry I gave it a quick coat of The Vintage Farmhouse distressing paint in "Milk Pail", my favorite color.


Looks kind of scary at this point.  Now for the fun part,  I let this dry then I did another coat of the same color but I used a sea sponge.  I wanted to give it some depth.


You want some of that copper to show thru in some places.  After that dried, I took alittle bit of a lighter blue called "Mason Jar" & sponged it on lightly.  I wanted the shape to pop so I highlighted the raised detail of the lamp.  I'm really liking it at this point, but I think it needs a little bling.  


So I added another metallic paint called "Warm Silver". Once again I applied it with the sea sponge very, very sparingly.  You just want it here & there.


Now I'm loving this!  I let the whole thing dry over night.  I was a bit nervous weather the paint was going to rub off but so far so good.  I did do a coat of spray poly first, then I did a coat of wax.  Not a speck of paint rubbed off when I buffed out the wax.  Woo Hoo!!


Now for the lamp shade.  It needed some help, the poor thing was so stained.  Do you remember the French paper I used on my last project, here?  I wanted to try this paper on a lamp shade.  I stripped off the silk fabric,


This is what the bones of the good old lampshades look like.  So many possibilities....
I used Modge Podge to glue the paper to the frame of the shade one panel at a time.  You have to be very patient with this.  I did every other panel first then went back & finished the opposite panels.
Here is the lamp all done...


I am really in Love with this now....


Notice the subtle sparkle that last metallic layer added?


Such a pretty lamp....


I hope this inspires you to try this fun paint technique.  It's easy to do & looks amazing when your all done.  I may have to try this on a larger piece sometime.   

Thanks so much for stopping by, please check us out on Facebook.  Have a great day,   Dee

Thursday, January 16, 2014

More Windows

I have a thing for old, antique, vintage windows.  They just look cool.  Weather you fancy them up, repurpose them or just leave them in their original state they are so fun.

I have painted my fair share of windows these past couple of years.  You can see an example Here, Here & Here.  I love how versatile they can be. 

A couple of months ago a friend of ours was remodeling an old cottage & was replacing the windows. He gave me four of these beauties.


They are BIG!  I'm talkin 32" square.  I so would have loved to just leave them in their original state & hang them all together, either side by side or two on top & two on bottom.  Alas, I just don't have that kind of wall space.  So instead I get to play & create four fun pieces.  

I gave this one a coat of The Vintage Farmhouse Distressing paint, the color is called "Carriage House".


Now for the fun part.  I have been on this "Bird on a wire" kick lately, just can't seem to get it out of my system.  


How cute is that!?


I have it hanging in my booth.


I already have planned out the next two & they are both different without birds.   Do you have antique windows in your decor?
What's your favorite thing to do with old windows?

Thank you for stopping by for a visit.  Check us out on Facebook to see what we're up to.  Have a great day!  Dee

Wednesday, January 1, 2014

The Cream of the Crop 2013

Happy New Year!  I hope your Holidays were everything you hoped for.  Mine were perfectly enjoyable.  Now that we have them behind us it is that time of year again, time to look back.

Drum roll please......

Top three most viewed:


First:  The Charak Table was the most viewed & the most comments.  Oddly enough, we chose not to paint it.


Second most viewed:  Vintage Windows.  This is also one of my personal favorites.


Third most viewed: My Wedding Chairs. This also had the most features.

MY PERSONAL FAVS!

1.


This antique phone table was so fun to do.  I love the color & the graphic was just perfect.  

2.

My French Laundry vintage ironing board.  I had a new stencil to play with & used a technique I learned years ago when I did Faux Finishing.

3.

This Sweet Waterfall Vanity turned out beautiful.  The vanity & the mirror were both roadside treasures, but what was so surprising was that I found them separately but in the same week. They went together perfectly. Love it when that happens.

4.

The Cornbread Yellow Cabinet was a team effort.  Loved the Chickadees.

5.

This Shabby Lamp Makeover was a challenge but so worth it.

6.

Chippy Blue Dresser was another project we chose not to paint. We loved the color so we just waxed it.

7.

The Medallion coffee table.  I used one of my all time favorite stencils on this.
8.

Gate leg table.  This turned out amazing! It belongs to my vendor sister, Lena.  It's for sale in her booth now, if your interested.

9.

The Serpentine Dresser.  I just realized I have not posted about this beauty.  I will have to do that in the near future because it's worth talking about. 

10.

My Shabby Fireplace is a keeper.  Another roadside treasure!  I plan on holding on to this one a little longer. It looks so nice in my booth as a prop.

It's been an exciting year.  We started teaching paint classes & brought a chalk paint line into our booth at Collette's Vintage & Antique Mall.


This is an amazing paint & very user friendly, it's called The Vintage Farmhouse Distressing Paint.
We also started a Facebook page so you can see what we're up to between posts.  For my birthday my Mom gave me a new camera, so my New Year's resolution is to make the time to take better pictures. 

Well, I hope you've enjoyed this stroll thru my year. I want to thank you all for your kind words, inspiration & encouragement.  
Thanks for visiting me.  I hope you all have a happy, healthy & prosperous year ahead.  Dee