Thursday, June 20, 2013

French Laundry Ironing Board

About a year ago I seen one of the coolest up cycled wooden Ironing boards & since then I have wanted to paint one.  I found one last week from a fellow vendor that was perfect.  You can see my inspiration here.

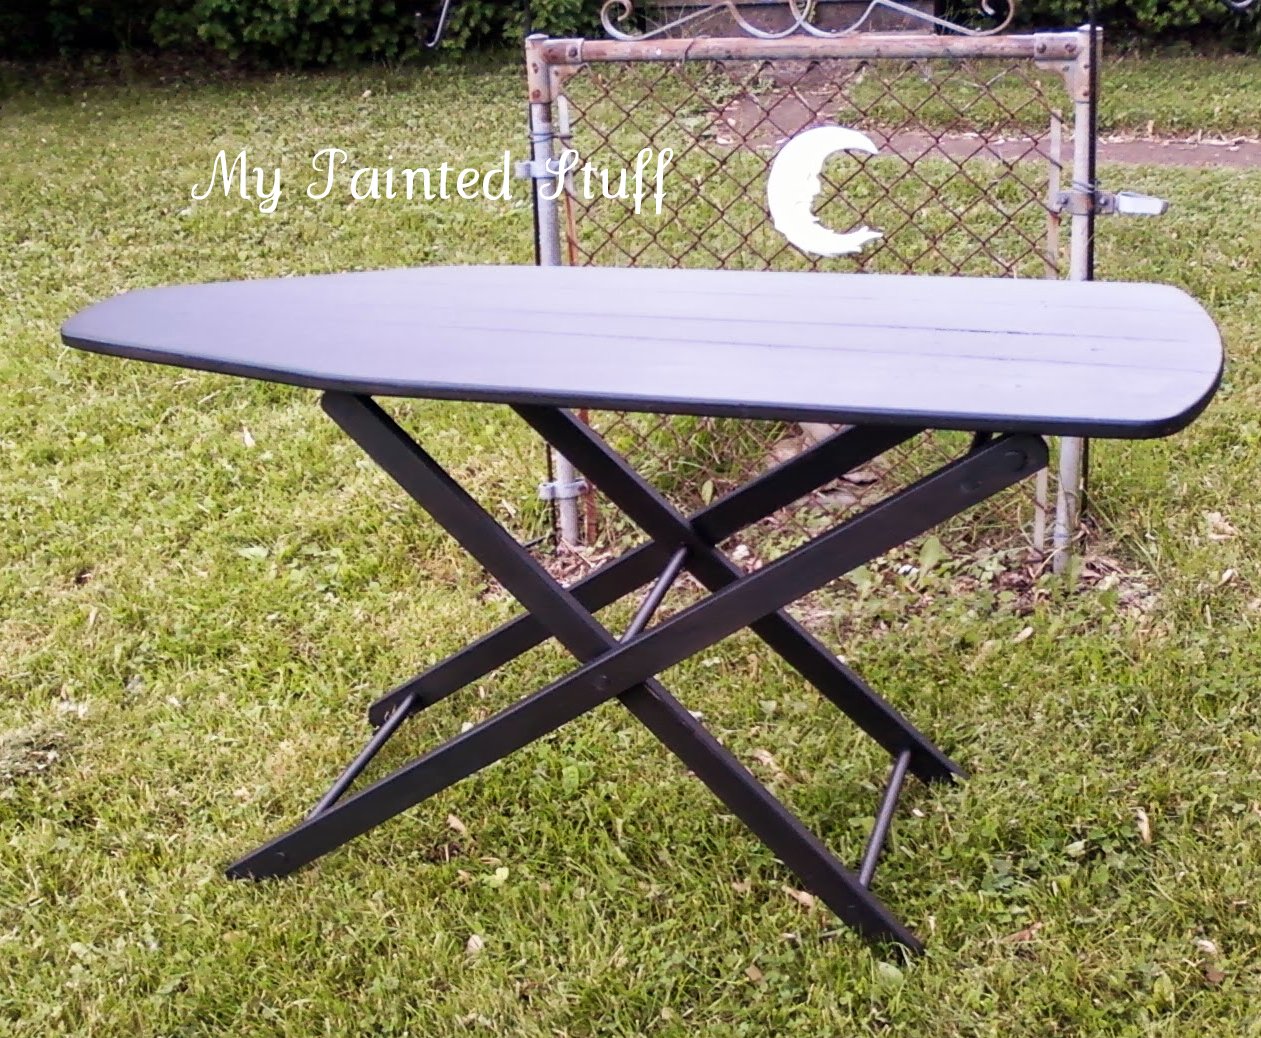
I sanded it all smooth & painted it black.  Now it was ready for graphics.

 I had my eye on a sweet french script stencil & this was the perfect project to try it out on.


I found this stencil from a shop on Etsy called "Wall Masque Stencil Co."  I love it's versatility.

I had a vision for the look I was going for.  There was an application I used to do when I did faux finishing called "Shadow Stripe".  It was a shiny stripe next to a flat/matte stripe. This was the look I wanted, but with words. So I used a gloss black for the stenciled words over the flat black paint.


How cool is that!!?

Now I'm not done yet.  I wanted to add white graphics over this.  I created it on my computer & transferred it on with my overhead projector.


I  had intended to paint the words in solid, but after outlining the letters, I liked the way it looked.  Unfortunately I lost a lot of the contrast of the background when I applied the wax.  You can still faintly see it when the light hits it just right. 


It was really hard to get a good picture in this bright light.


I still love how it turned out. These old ironing boards are so much fun to paint.  There are so many new ways to use them nowadays. Pinterest has a ton of ideas.  I would use it for a sofa table or it's perfect for entertaining.  Couldn't you just see it in someone's vintage style laundry room or sewing room?


I'll keep working on this technique.  I've already got a few ideas rolling around in my head.  I just need to get my hands on another Ironing board.

Thanks for stopping by!  Be sure to check out our Facebook. Take time to enjoy your summer,  Dee

Friday, June 14, 2013

A Few Thank Yous & a Sneak Peek

I hope your Summer is off to a great start.  I for one am elated it is finally here. I've been super busy with custom work & the end of the school year stuff, as I'm sure you all are right now.

I have a few Thank Yous to make.  I would first like to thank Karen from The Graphics Fairy for featuring my Cycling Coffee table.  

Available at Collette's Vintage in Burton, MI


Karen has great taste in vintage graphics & I so appreciate the hard work she does providing all of us everyday with the coolest free graphics.

This same table was also featured by Kerryanne at Shabby Art Boutique. She has a beautiful blog & she has created a wonderful online magazine called "Simply Shabbilicious". Not only does it feature some of the nicest blogs out there, it's free!  So thank you Kerryanne, I appreciate the feature.

Finally, today Stephanie at Furniture Flippin featured my My Wedding Chairs.

Sold

She has such a great sense of humor, I love checking out her Facebook page. She does a weekly feature of other people's work/blog. Thanks again Stephanie!

Now for the Sneak Peek.  I purchased an antique wooden Ironing board last week from a fellow vendor at Collette's.  I painted it Black & am mulling over a few ideas in my head on the graphic. Here is what it looks like now:


Bought some new French script stencils, I can't wait to try.


Stay tuned to see what happens when I combine the two.

Thanks for stopping by.  Be sure to check us out on Facebook. Have a great weekend!  Dee

Tuesday, June 4, 2013

Custom Black & White

I've been a busy bee this past couple of weeks with some Custom work.  Of course I did not get any before pictures, I was just so excited to get started.  You all know how that is, right!?

So this post will be short & sweet, but full of pictures.
My client wanted everything black & white.


I painted another clock face on this cute little Octagon table.


There are two stools so I put No. 1 & No. 2 on them.


A group of pedestals.....


I love how the chalk boards came out.


And the "Creme De la Creme" a beautiful Gate leg table.

This client was awesome, she let me do whatever I wanted, it just had to be black & white.  Custom work always makes me a little nervous.  I was relieved when I saw her reaction after seeing the first few pieces.  She was so happy with all of it.  She has a few more pieces waiting in the wings for me.  

Hope you all have a great week.  Don't forget to check out my Facebook!  Thanks for stopping by,  Dee.


Wednesday, May 22, 2013

Cycling Coffee Table

Can you believe it's Memorial Day Weekend already?  Where does the time go?  It seems like it went from winter to summer in the blink of an eye.  I for one am happy to see the winter finally end. Bring on the Sunshine & long warm days!!!

A few months ago I seen the most awesome graphic from The Graphics Fairy.  Usually the piece of furniture gives me the inspiration for the graphic, but not this time. The graphic totally inspired the type of furniture, size & color choice.


How awesome is that!??

I found the perfect coffee table to show off this super awesome graphic.  I painted the base Paris Grey & the top in Old White.  Now the fun was about to begin.  I used my overhead projector to transfer the graphic:


Using my paint pens & a very steady hand, I carefully painted it on.  This took me three hours but I'd say it was well worth it.


I really had to focus when I got to the wheels.


I painted a black band on the edge....


Sprayed the hardware black, the clear waxed the whole thing.


Here it is in my booth.  I know it's not for everyone & it's kind of masculine, but to me, it's beautiful.  

Friday, May 10, 2013

Cozumel, the Color

I love Cozumel.....

 Warm tropical breezes...

The coral reefs..... 

The beautiful Aqua blue warm ocean...

Don't you just want to go there & stay forever?

Someday I hope to visit, but until then I will settle for using my new favorite color.  You guessed it, "Cozumel".  It's a color by Clark & Kensington from Ace Hardware & I love it!

This is the first piece I painted in this color:


I was in love after the first coat....


We happened to have a twin bed that went nicely with the table so we painted it the same color.....


I added a little bling, this is actually a metallic paint called "Oyster  Pearl". It didn't photograph very well, but looks very sparkly in person.


Super cute together, don't you think?

I just couldn't wait to use this color again, so I had an old phone table that needed a new look.  Does anyone even use a phone table anymore?


I found the perfect retro graphic at my favorite source The Graphics Fairy. 

Then I added a little modern spin to it:


What teenage girl wouldn't love this?


What would you use this cute phone table for?
Cozumel... someday I hope to see it. For now I will just enjoy the color.  Thanks for stopping by,  Dee

Friday, May 3, 2013

Vintage Windows

Don't you just love Vintage Windows? I think I may have another obsession. They are just so fun to work with, there are so many possibilities.

In my last post I shared a peek at some old windows that I would be working on next.


We were able to finish up two of the three this week & I couldn't wait to share them with all of you.

The first one we painted Blue, "Sea Reflections" by Benjamin Moore...


And the Second one we painted it a green called "Tree Frog" by Clark & Kensington, but I wanted it more pastel so I added some white.


I love the vintage graphics from Karen at The Graphics Fairy & that is where I found this graphic. It's actually two different graphics that I put together.

You can read about how I transfer & paint on the graphics here. 


This is the same blue color I used here.


And this is the table I used this green color on. You can really see the frosted paint I sprayed on the glass to protect the graphic in this picture.

These windows are pretty good size, the blue one is 25" square & the green one is about 3" bigger.

Both available at Sassy Fabrics in Grand Blanc, MI.
So which color do you like best? I still have the larger two paned window to do, we have painted it Primer Red.  Any suggestions?

Follow us on Facebook to see what we are working on. Thanks for stopping by & have a great weekend!

UPDATE:

Here is the third window!


I used two different graphics again on this window, the banner is from an Etsy store called Graphique. The dress form is from Free Vintage Digital Stamps. Do you like the Primer Red?


Wednesday, April 24, 2013

Up Cycled Drawer Table

Hello everyone! I hope you are all having a wonderful day. I am just getting my day started & wanted to share alittle project I just finished.

If you follow my blog then you know I am not shy to pick up a roadside treasure. Last month I was on my way to an upholstery class I was taking & spotted a bunch of dresser drawers out to the trash. 

I didn't have time to stop & investigate but I promised myself, if they were still there on the way back I would take a closer look.  Well, sure enough they were still there two & a half hours later, but I needed to hurry because just up the street was the garbage truck!   Quick as I could I jumped out & looked them over. They were amazing. Solid wood, some were real deep, all had their hardware. What Luck!!

I loaded up every one of those babies!  Man were they heavy. They barely fit in my mini van.  Once I got them home I started looking around Pinterest, Hometalk & blogland for some inspiration.

I wanted to make them functional & pretty at the same time. A few of them were perfect for under the bed storage. So I painted them white on the outside & a pretty pastel aqua color called "Aqua Smoke" by Behr on the inside. I sprayed the hardware black. When they were finished I hauled them up to my booth where they have sat for the last two weeks. You can see them in this picture of my booth on the right:


In my garage I had another roadside treasure just waiting to be used, it was an end table my sister picked up for me in the fall. The top was to far gone to repair, but the legs were still good. 


This was my idea:


I wanted to attach the legs to the bottom of one of the drawers I had already painted. This is the picture I took while I was mulling it over.

I took the legs off the table & sprayed them black.


Then I cut a piece of wood I had on hand to screw the legs into, as the drawer bottoms were to thin to screw into.


With some Liquid Nail & the original screws, I attached the legs to the bottom of the drawer.


How cute is that?!

It was such a sunny day that it kinda washed out the pretty color inside the drawer, but you get the idea.


What a perfect little table.....


And so portable....


This one went right back up to my booth. I would love to do this with the other two drawers I have painted.   I'll keep my eyes peeled for more roadside treasures with the legs I need. 

Here is a sneak peek at some old windows we have big plans for...


Stay tuned:)  Dee