Sunday, May 8, 2016

Rustic Window Box

Why Hello there, I'm back! I can't believe it's been over a year since my last blog post. I post on my Facebook all the time & on Instagram occasionally. I am determined to post here more regularly this year, I promise.

Today is Mother's Day & here in Michigan we were blessed with a beautiful Sunny day. It made me want to be outside enjoying the day.  I decided to work on a project we've been putting off for too long. I wanted to make a Window box using an old 6 Pane Wood Window & some Rusted Barn Corrugated metal.


This is the Window, it has the Sash still attached. This was perfect for what I wanted to do.


After removing the piece on the top of the window,
We cut a two pieces of scrap wood on a 45 degree angle.....


and attached them to both sides of the top of the window.


We had some Old Barn Metal that was perfect for this project. We measured how long we wanted the overhang to be & cut it with a pair of Tin snips. 


Then we nailed a brace between the angles to support the metal.


Using a Brad nailer, we attached the metal to the angled pieces & all across the top attaching it to the brace & the top of the sash.


Looks so cute already. Now for the window box. That part was easy.  We just took the piece of wood we removed from the top of the window & re-attached it to the bottom, boxing in the front.


And Voila! A Rustic Window Box with a Barn Metal Awning...


I love how it turned out.....


It felt so good to make something for us to keep.


I can't wait to plant my flowers & put some in my window box.


I have a few more of these windows, we may just have to make a couple more for the store. I know a couple of ladies that would love one of these.

Thank you for stopping by. I hope you will check us out on Facebook & Instagram. Hope you have a great day!  Dee

Tuesday, April 28, 2015

Make Up Armoire

One of my New Year's Resolutions was to post more often on my blog, as you can see I am failing miserably.  It's not that I'm out of things to share with you, it's more like I need more hours in the day to sit down & just write about it.  
In January I purchased two amazing pieces from The Lions Gate Market Consignment store which is in the same building where I have my workshop. Both of these pieces were Armories, you can see the first one here.  This Armoire was really a bar.


It had that very dated 80's Blonde Faux Distressed finish, but it also had some amazing detail.


When you opened the doors it lite up inside!  This gave me an idea, what if I removed the wine bottle holder, glamed it up & turned it into a Make-up vanity!? It had an outlet inside for a blow dryer/curling iron.  That was my vision.

After doing some minor modifications, I was ready for paint.  I chose a very Bold color from The Urban Rooster called "Jaded Rooster".  It was my first time using this chalky paint & I have to say I loved it!


Wow! So much better.


After painting & distressing I decided to dark wax the details. You can see the difference it made, the door on the right has the dark wax the one on the left does not.

Now it was time to customize the inside.....


I added some cork to the doors, then stenciled it....


Then I added little cup hooks to hang necklaces on, it's hard to see them in these pictures but they're on there.


I also decoupaged the inside shelves with some script paper.


I love how it turned out!!!


A very nice Mom bought this for her teenage daughter, what a lucky girl!  I hope she enjoys it for many years to come.

 Please check us out on Facebook to see what we're up to this week.  Thank you for stopping by,  Dee

Friday, February 6, 2015

Shabby White Armoire

```````````Happy Belated New Year everybody!!  I am so excited to have a fresh start, a new beginning.
My first project this year had me so inspired. I bought this Armoire from my good friend Jennifer at Lions Gate Market. It had good bones, but the finish screamed 80's.


It was big & Blonde, but it had good bones.

It's a Thomasville!


The previous owner had cut out the back to accommodate a T.V., There was a pole in it at one time & there was also an electrical plug with the cable cord. So it was very versatile, it could be an entertainment center or a clothing Armoire. 

I had big plans for this Beauty:  The first thing I did was give it a new Beadboard back.  Then I had to get rid of the Blonde finish so I painted it Bright White.  The old Blonde finish had a Faux distressing so I had to re-create the distressing with paint. So I painted the distressing back on, only in Black.  Then I did a clear wax on the whole thing. 

 To make the detail pop, I did a Black wax. I mixed Black paint right into my Clear Wax.

Here's a picture before Black wax:


Here is a picture after Black wax:


Before,


After,


Left side door has Black wax, Right side doesn't.

This is a good close up of the Faux Distressing: 


Love the new back! We cut a hole on the lower right hand side just in case someone wanted to use it as an entertainment center. I hope it goes in a Baby Girls Nursery.  

Or maybe even a very Sophisticated teenage Girls Shabby Chic bedroom.


Oh, who am I kidding!?  It could easily go in a grown up Woman's Dressing room.....


Available at V Trading in Grand Blanc, MI

Someday I hope to have a big enough Bedroom/dressing room,  so I can have one of these for my very own.  Where would you use this Beautiful piece?  Armoire or Entertainment Center?

  Check us out on Facebook to see what we're up to.  Thank you so much for stopping by. I wish you an amazing  & inspired New Year, Dee

Friday, December 26, 2014

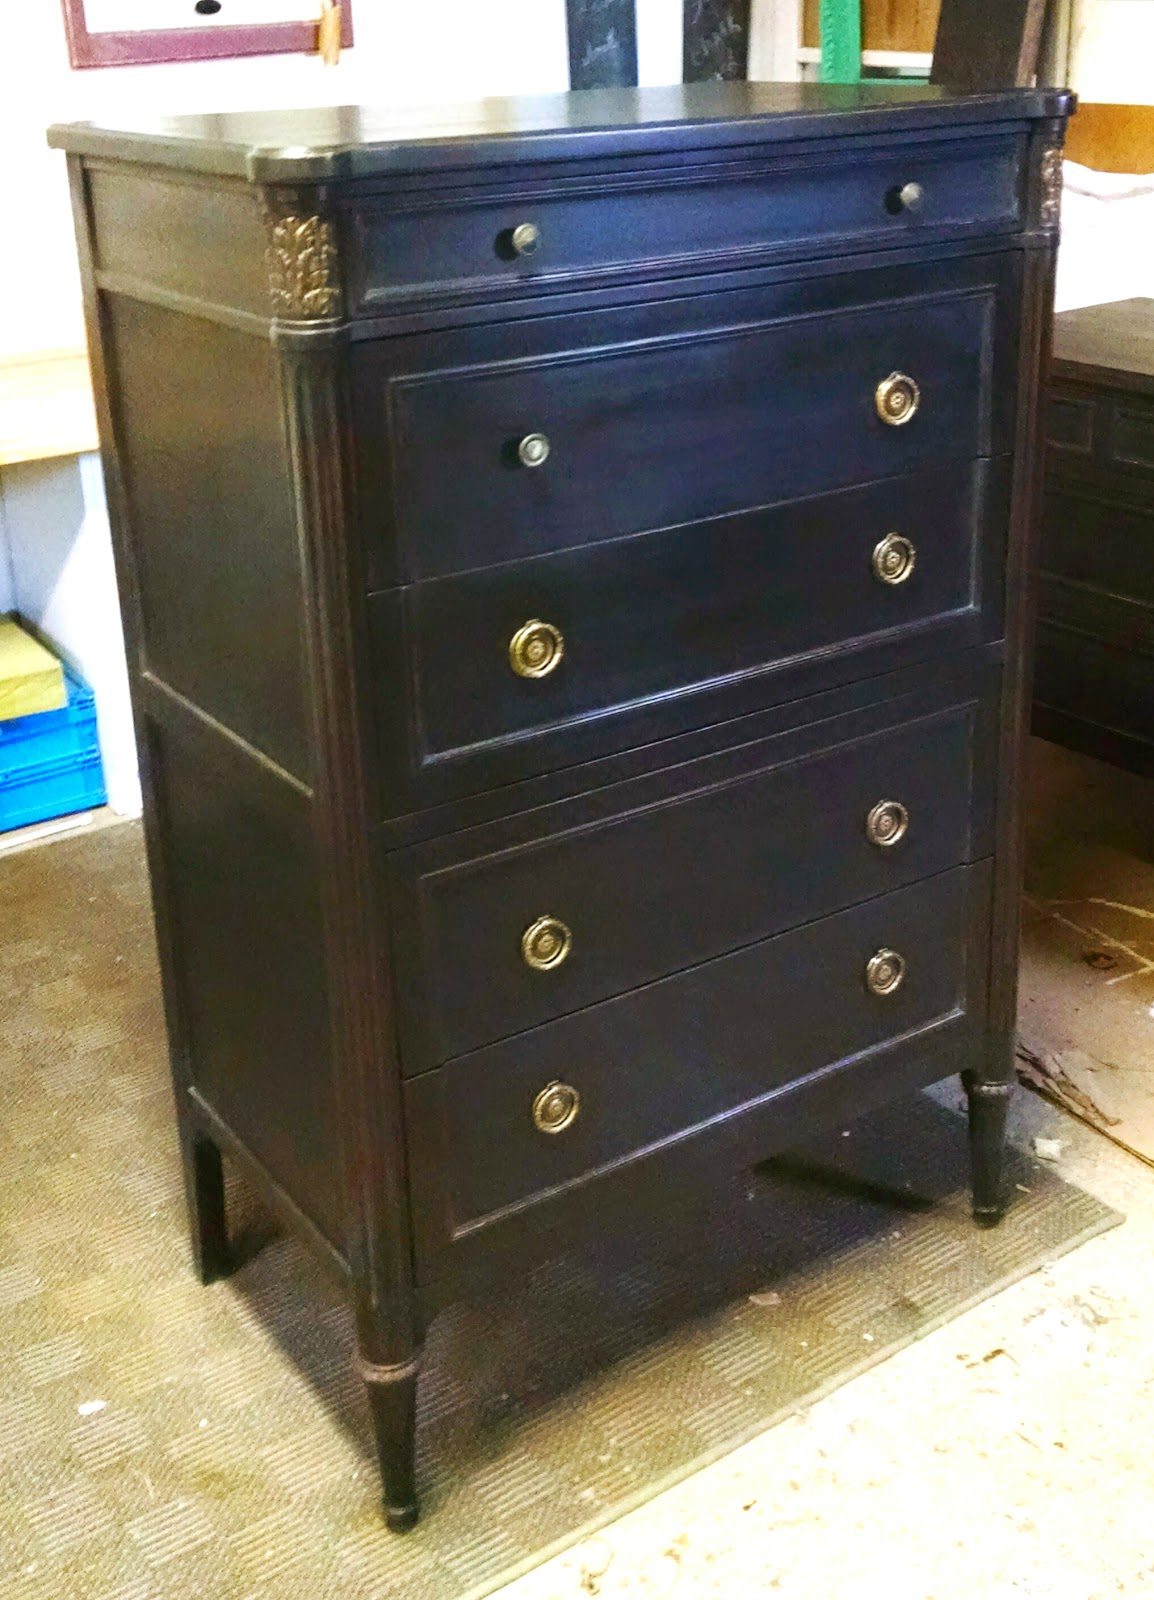
Shabby Black Bedroom Suite

I've been pretty steady with the custom work this year, I wanted to share my most recent project.
My client had this beautiful pair of dressers with a Full size bed.  The tops of the dressers were in pretty bad shape so she had the tops & the front of the Headboard & foot board upholstered.   
This is what they looked like before I started.


I was really worried about what I would find once we removed the vinyl.


The headboard had approx. 3,942 staple holes in it.


The foot board had it's own set of issues only a Carpenter could address.


This is what the top of the short dresser looked like, yikes!  It took us an entire day to prep these pieces for paint. After scrubbing them with TSP, sanding, wood filling all the staple holes, more sanding & one last wipe down, we were ready to paint.

"Old Scale" was the color choice with the details dry brushed in gold.


Here they are just before I waxed them. They look so much better!

I shined up the hardware with a little fine steel wool.


The one on the left has been cleaned.

Here's the set in their new look.


This dresser is missing one of it's cool drawer pulls, but the client does have it somewhere.


This dresser had the most damage on the top.  I am proud to say you can hardly see there was ever an issue.


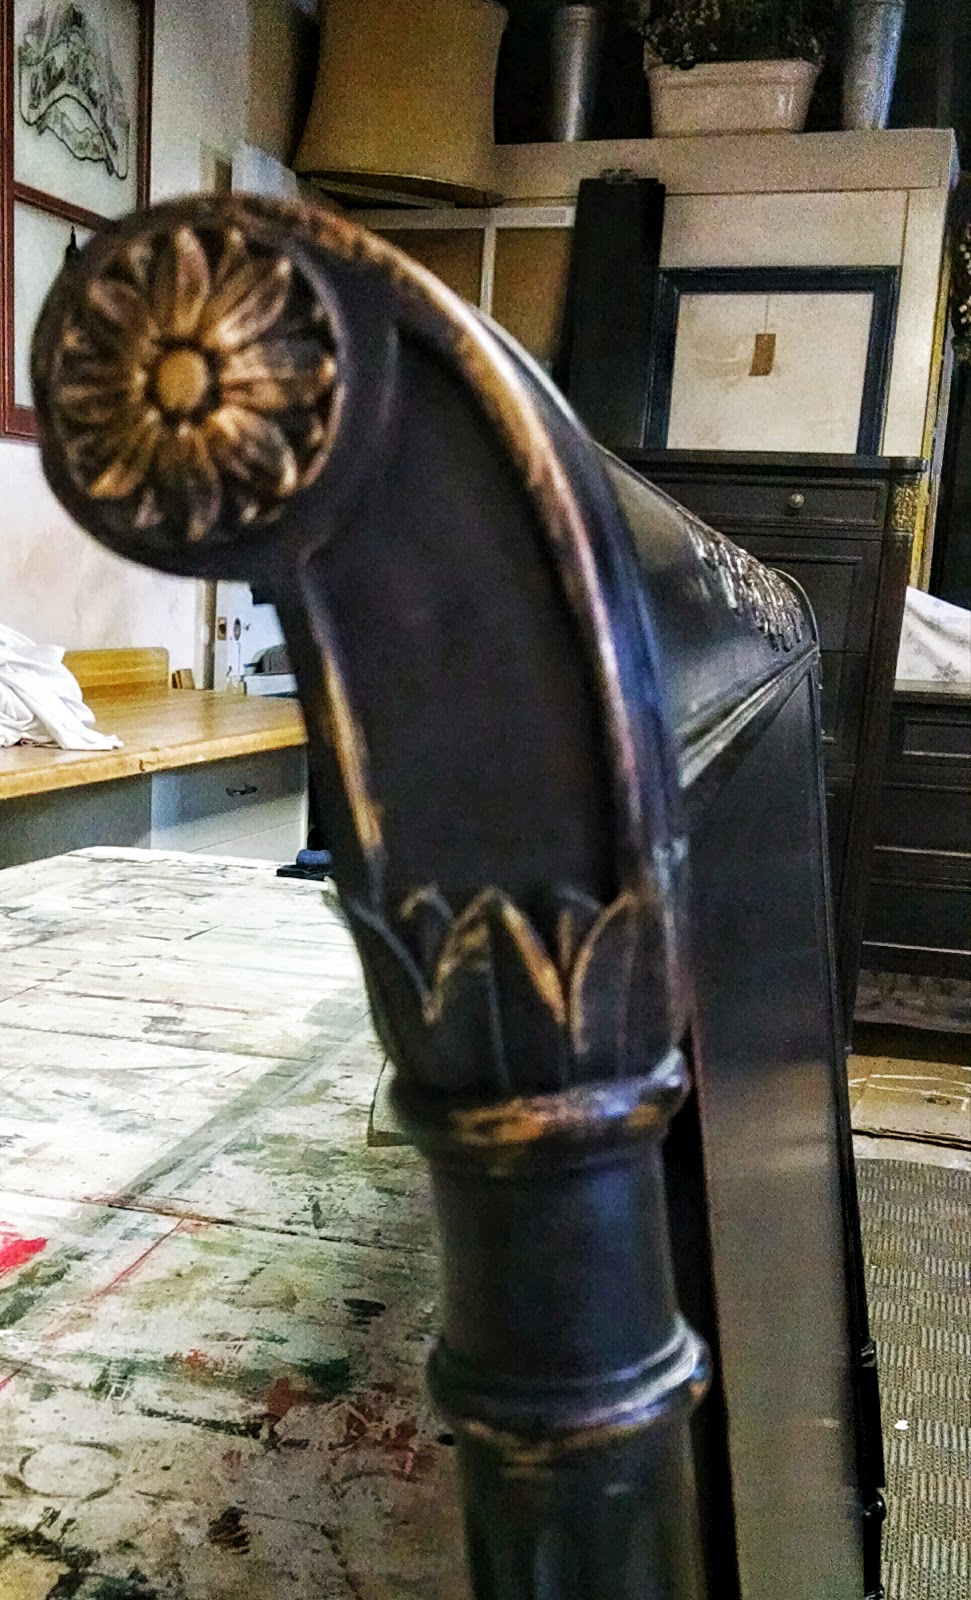
I love how the gold dry brushing turned out.


The headboard is amazing!  


And the foot board came out beautiful too.


What an amazing transformation.  I just love that feeling of accomplishment you get when you finally stand back & admire all your hard work.   It motivates me to move on the the next project.

Thanks for stopping by to see what we've been up to.  Be sure to check us out on Facebook.  

I hope you all had a very Merry Christmas & I wish you a Happy & Prosperous New Year!!  Dee