
Happy Valentines Day to all you good people! I hope you had a lovely day shared with your loved ones, I know I did.
A couple of weeks ago I picked up the most perfectly round coffee table. It was just what I was looking for to paint yet another clock faced table. If you follow me you already know this is my obsession. I think it's actually bordering on a mental condition. Every few months I just have to paint a clock face on something. I know, weird right? On the positive side, so far every item I've painted a clock face on has sold.
This was my inspiration:

It's the Heloise Wall Clock from Ballard Designs. I love the colors & the style of the numbers. I normally do roman numerals, but I liked the big fat numbers on this clock. Here is the before picture of the table:


So perfect for this project! I sanded the whole thing really well as the top is Formica. After giving it a good cleaning, I gave it two coats of Paris Grey on the bottom & Old White on the top. After that was good & dry, I did a Duck Egg Blue wash over the Paris Grey. I just finished another piece using this same application, you can read about it here.

Now I have a blank canvas.

I created the images on my computer in Publisher. I changed the letters & numbers to my own liking. Then I laid them all out & spaced them accordingly. To transfer the images I just turned the image over & scribbled with a pencil on the backside, then turned it over right side up & traced over the image. Then I painted it in with a paint pen.

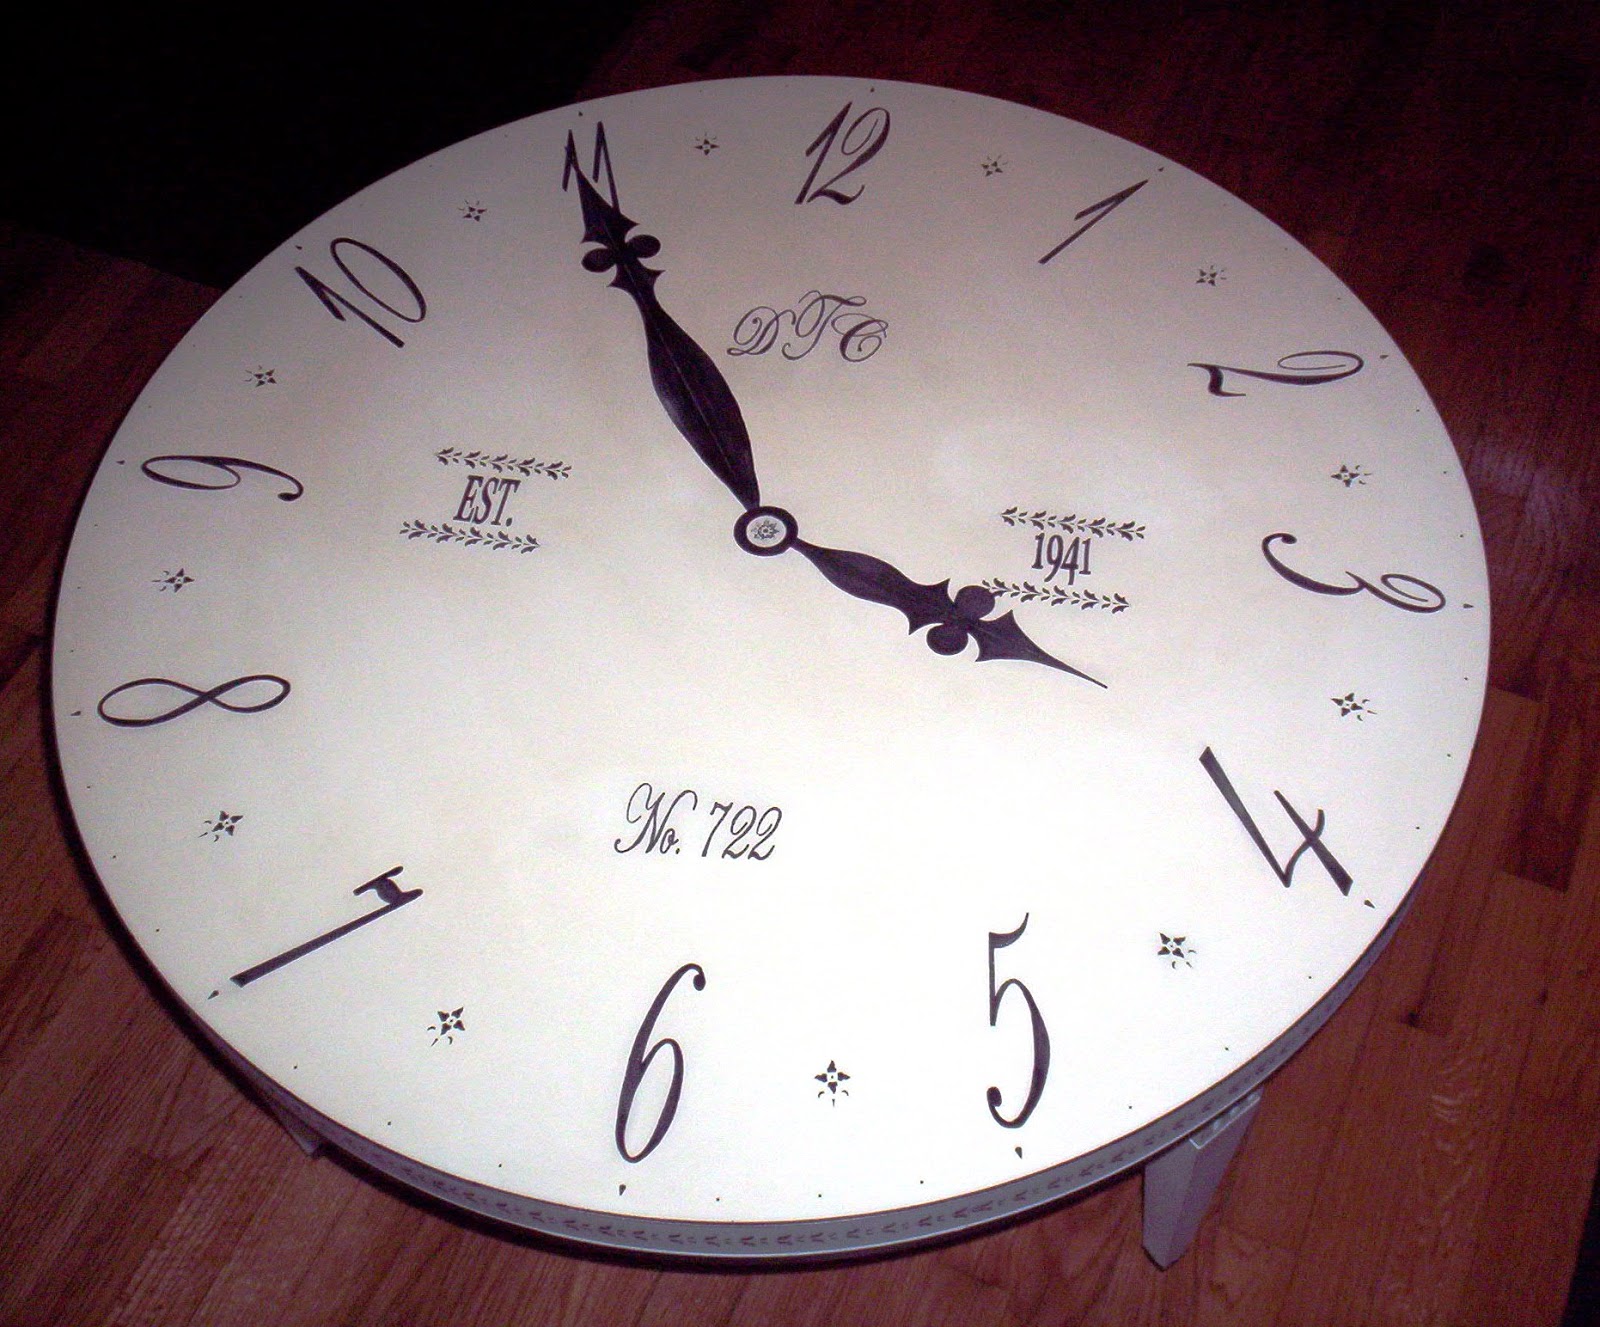
Here it is all painted in, sanded, distressed & waxed.

A close up of the cool details.


I added a nice little stencil to the outside edge.

Love these legs with the little black metal tips......

My version of Ballard's Heloise wall clock.
What is so fun about painting clock faces (for me anyway)is you can add any detail you choose. These letters & numbers have significant meaning to me. There are so many things you can do when painting a clock face. You can do just the 12, 3, 6 & 9, or you could give it a really different background. You could even create a work of art with the clock face floating on a smaller scale off to the side. The possibilities are endless.
Well, I hope I have inspired you to try painting a clock face on your next project. If you have an epic fail, you can just paint over it. It's just paint after all. Leave me a comment, I love to hear from you.
Thank you for stopping by & have a great weekend! Dee
Here it is all painted in, sanded, distressed & waxed.

A close up of the cool details.


 |
| Available at Sassy Fabrics in Grand Blanc, MI |

I added a nice little stencil to the outside edge.

Love these legs with the little black metal tips......

My version of Ballard's Heloise wall clock.
What is so fun about painting clock faces (for me anyway)is you can add any detail you choose. These letters & numbers have significant meaning to me. There are so many things you can do when painting a clock face. You can do just the 12, 3, 6 & 9, or you could give it a really different background. You could even create a work of art with the clock face floating on a smaller scale off to the side. The possibilities are endless.
Well, I hope I have inspired you to try painting a clock face on your next project. If you have an epic fail, you can just paint over it. It's just paint after all. Leave me a comment, I love to hear from you.
Thank you for stopping by & have a great weekend! Dee


